 |
| The chicks learning to use their new waterer |
Monday, June 18, 2012
Waterer

Sunday, June 17, 2012
10 weeks
 |
| Mermaid, Princess Aurora and Bell - 10 weeks old |
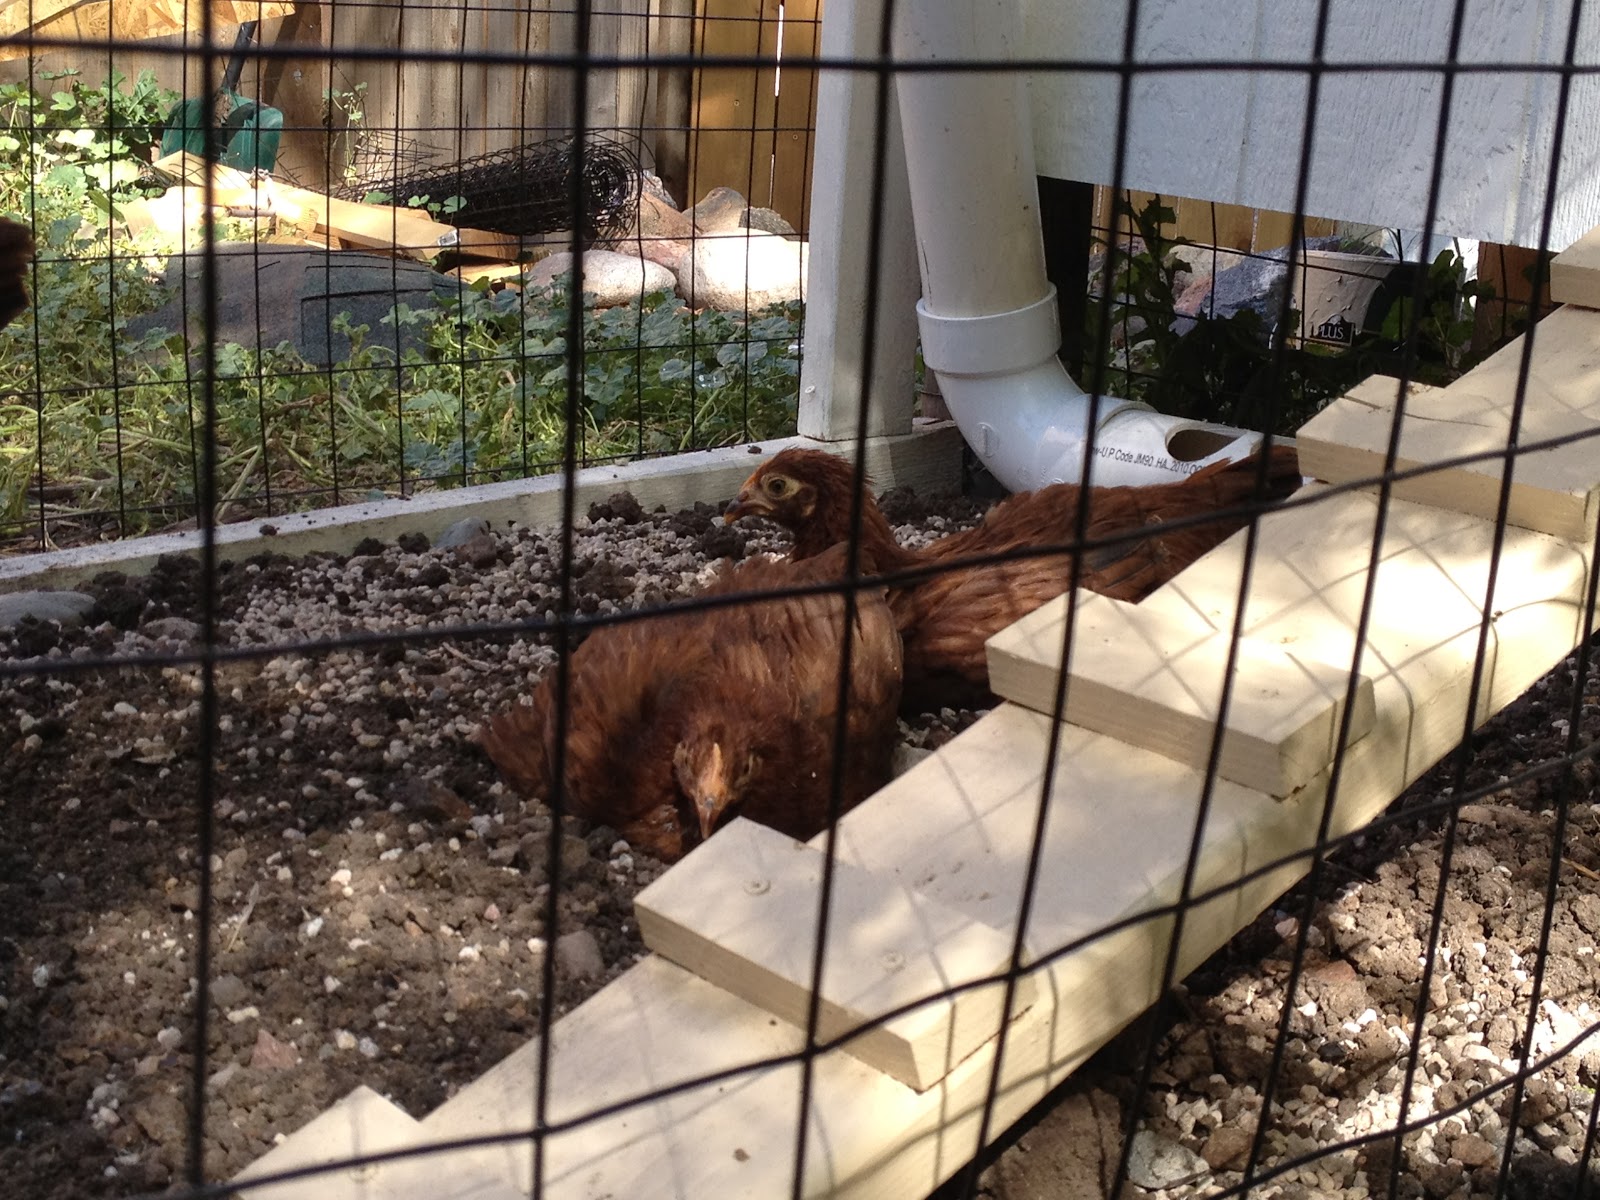 |
| The chicks digging into the gravel to find a cool place to lay |
 |
| The chicks pecking at watermelon |
Saturday, June 16, 2012
Chicken Run - Completed
 |
| The chicks hiding under the ramp the first few moments in their new run |
 |
| Add wiring on top |
 |
| Door assembled |
 |
| Chick feeder in run |
 |
| Wire added to east side |
 |
| The chicks hiding under ramp in their first few minutes in the run |
Thursday, June 14, 2012
Chicken Run - Day 1
 |
| Chicken run - After Day 1 |
This was a pretty expensive trip to Home Depot. I had to buy 50' of 4' black welded wire $60, 7 bags of river rock $30, 7 bags of gravel $30 plus some extra 2"x4"s. I also bought an electric staple gun which is AWESOME! Its so easy to use and only cost $27. I am a staple fiend now and it makes attaching the wire to the wood very EASY.
 |
| Step 1 - Build frame and staple the wire around the bottom |
 |
| Step 2 - Add river rock |
 |
| Step 3 - Add gravel |
 |
| Step 4 - Add soil |
Sunday, June 10, 2012
Chick Feeder
 |
| Chick feeder with cap off |
 |
| Chick feeder with cap on |
Friday, June 1, 2012
8 Weeks
 |
| Mermaid, Princess Aurora, and Belle - 8 Weeks old |
They have also been in the coop for about 5 nights and I was happy to see Belle on her roost this morning when I went to check on them. Its interesting because they don't drink much all day long, then at night they empty their water bottle. I wonder if the heat from the lamp through the night makes them thirsty?

Wednesday, May 30, 2012
Heat Lamp + Coop

At about 12:30am on the first night the chicks were in the coop, I checked the temp and it was about 48deg. I know I know... they are just birds but I just couldn't let them be outside at that temp yet. So I was a paranoid parent, and quickly set the heat lamp in the coop. I will leave the nice heat bulb in there for a couple days, then move to another bulb for a few more days then take the heat lamp all together. I think that will be good transition for the girls.
Sunday, May 27, 2012
7 weeks old
 |
| Mermaid, Belle and Princess Aurora Sleeping Beauty - 7 weeks old |
The chickens are now 7 weeks old. I spend a lot of time looking online to find out at what age is ok to put the chicks outside. The chicks feathers have come in and I have been letting them spent a lot of time outside this past week plus the weather is suppose to be pretty nice this week, so I decided it should be ok to put them in the coop. My wife is happy to get them out of the house and I think the chicks will like having a bit more space then the box they have been living in. I added 1/2 fresh new wood shavings and then I added their current wood shavings hoping the smell and familiarity will make the coop feel comfortable. I also am using their small water bottle and feeder until I get the run completed. Once the run is completed, the coop will be free of food and water. While I am a little worried about the chicks being outside at night, I am excited to have the coop done ahead of schedule.
I also put a screwed the chicken door shut until the run is finished.
 |
| The chicks checking out their new home |
 |
| Mermaid, Princess Aurora and camera shy Belle checking out their new coop |
Chicken Coop - Done!
 |
| Finished chicken coop |
 |
| I added a natural branch for a roost and covered up the nesting box access |
 |
| Chicken coop with main access door opened |
 |
| Main access door and nesting box with latches |
I got a handle and lock added to the main access door and a handle and latch on the nesting box. To be honest with you, I added the latches for predators but my real worry is not from animals, I am more nervous about the dumb ass drunk college neighbor kids jumping our fence and messing with the chickens...
 |
| Ventilation window and roof |
 |
| Chicken door opened and ramp allowing chicken access to the run |
Saturday, May 26, 2012
Child labor
 |

Coop - Day 3 Afterwork work
 |
| Coop with door with out window |

I had a small strip of acrylic from a shelf project more then 10 years ago laying around so I used it to make the window. I needed something that let me quickly look into the coop but I am a little worried that about the lack of ventilation on this side. It will be nice in the winter, but I hope it doesn't get too hot in there in the summer with only 1 ventilation window.
I also made a litter fence inside the coop. This piece of wood is removable and with the smooth finished laminate flooring, cleaning and sweeping out of the bottom of the coop should go pretty quick


My last few steps with the coop is painting it and getting the roof added. I hope to get that done this weekend so I can start building the run!
Monday, May 21, 2012
Chicken Coop Inspector


Coop - Day 2
 |
| Coop - Day 2 - 3 sides done and roof cut |
 |
| Chicken door down |
 |
| Chicken door up |
 |
| East wall with ventilation window |
 |
| Nesting boxes and lid |
 |
| three 14" x14" holes to access the nest box |
 |
| I added the smooth white laminate board to the bottom of the nesting boxes too |
 |
| A view inside the nest box |
 |
| A view from inside the coop looking at the nest boxes |
The build for nest boxes went pretty well. I spent a lot of time double checking measurements and finding the right sized scraps. I got a nice heavy piece of siding for the top and used some hinges to make a top access for eggs. I need to figure a way out to hold the nest box lid up when gathering eggs.
Overall, I am please with the days work. I need to make the main access door next, put the shingles on the roof then I think it will be ready for paint. Its a 3 day weekend with some nice weather so I hope to have the coop done by June 1st. The next project will be the chicken run which I think will take a little more money, materials time, but thats for another post! :)
Craigslist Items
I don't enjoy shopping, whether is for clothes or food, but for some reason I can easily get lost in Craigslist. I have bought and sold lots of stuff on the site and think its a super useful tool on the web. I look up bikes, cars, electronics and most recently, chickens and coops. I can across these two ads.


Chicken Coop Feeder
Chicken Coop Waterer
I really like these. I don't necessarily want to go out and refill the chicks feeder and water every day so I like the idea of being able to store a couple pounds of feed and gallons of water. While, the feeder looks incredible easy to build, I think I may buy the waterer from the guy. I dont know where to source the nipples from and when it comes to getting the chicks water, I don't want make a mistake or build anything that leaks. I also like meeting and supporting Craigslist people. When working on my VW, I met a guy about 4 years ago and has now become one of my good car buddies. I'll let you know how the purchase goes and how my own feeder tube comes along.


Chicks take a trip


Subscribe to:
Posts (Atom)